
SETTING UP THE AFT DECK
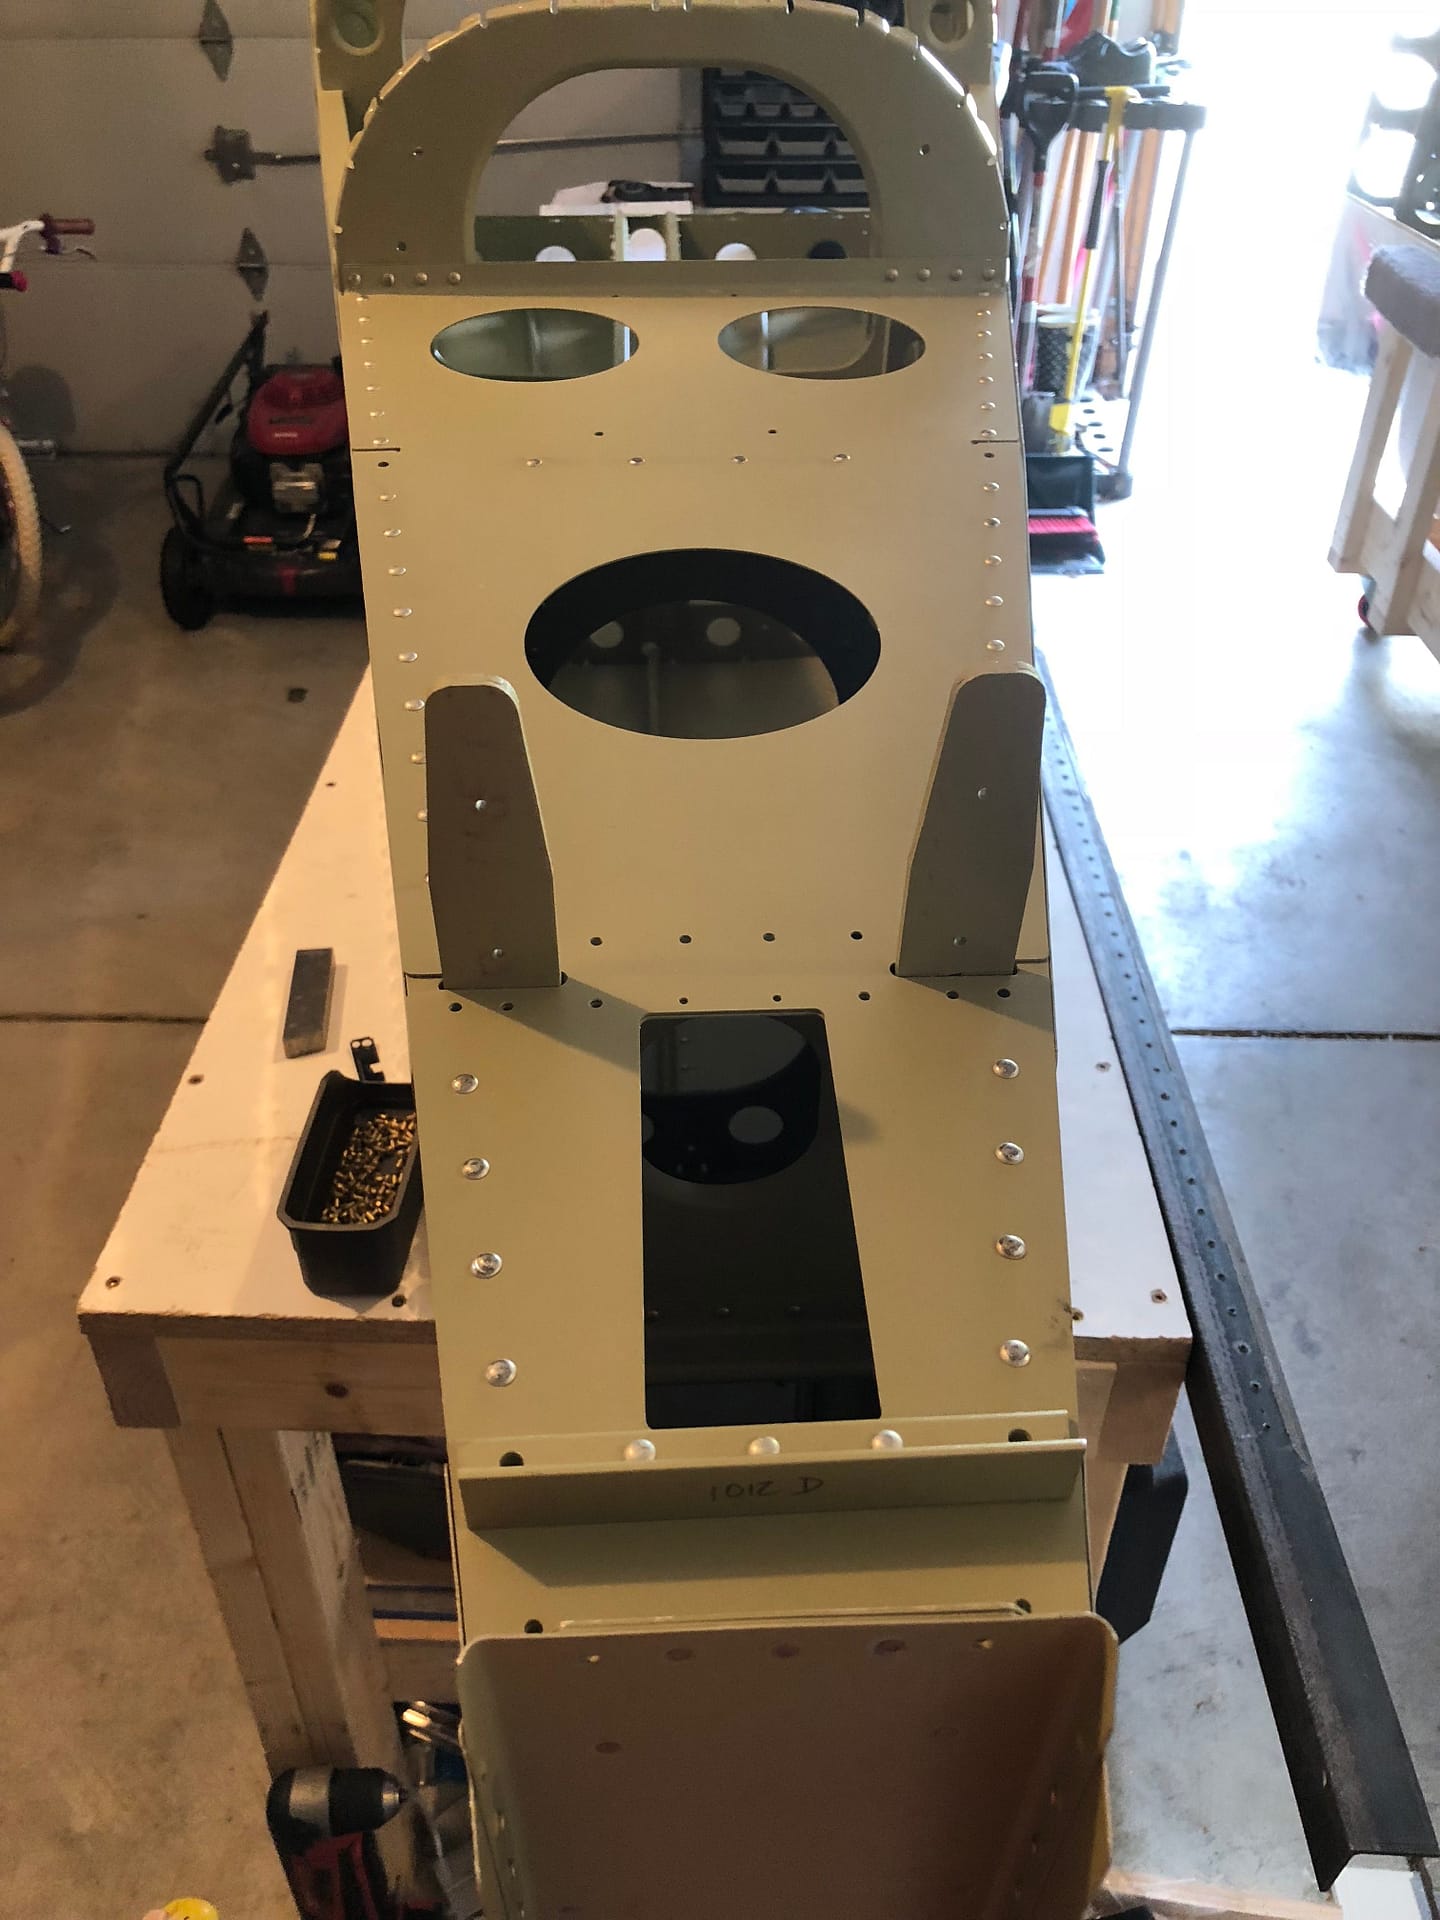
Once I had most of the pieces riveted in place for the tailcone, it was time to cleco the aft deck in place. For the most part it went quite smoothly. I am really happy that I spent the extra time working on the alignment of this part a few months ago as Van’s recommended. Having to go back and match drill again would be a pain, and certainly far from ideal. I also read ahead a section or two and “dry fit” all of the parts in place throughout the aft deck. This was also helpful to make sure that the finals pieces I will put on soon will still fit.
RIVETING THE AFT DECK
Well, it would certainly seem to follow that the next step is of course riveting! As I do with all parts, I scanned for where I could make use of my squeezer. It turns out that probably 80% of the rivets on the aft deck could be squeezed, which is always nice. After setting all of the rivets I could with the squeezer, I moved on with the classic gun and bar routine. These were a bit trickier if for no other reason than angles. I had to reach around, feel for rivet heads, and buck carefully. It turned out great and I’m really quite happy. Only one image today, but it pretty well captures the day’s efforts.
- Total time today – 1 hour
- Total time empennage – 191.5 hours
- Total time aircraft – 199.5 hours