
A DYNAMIC STORY ABOUT MY STATIC PORT
See what I did there? Another terrible pun. Yes. Moving on. In my research and reading ahead in the instructions, I have come across what Van’s would like me to use for a static air source. While I know full well that anyone who completes a “stock” RV-10 will be flying an exceptional aircraft, I was strongly looking for a sleeker alternative. Enter Cleavland Aircraft Tool. They sell a static port and plumbing kit that is relatively low cost and an easy install. Most importantly it is completely functional and much sleeker looking I think. I’m obviously not flying yet, but from those who are this is rated as a pretty reliable modification to have made.
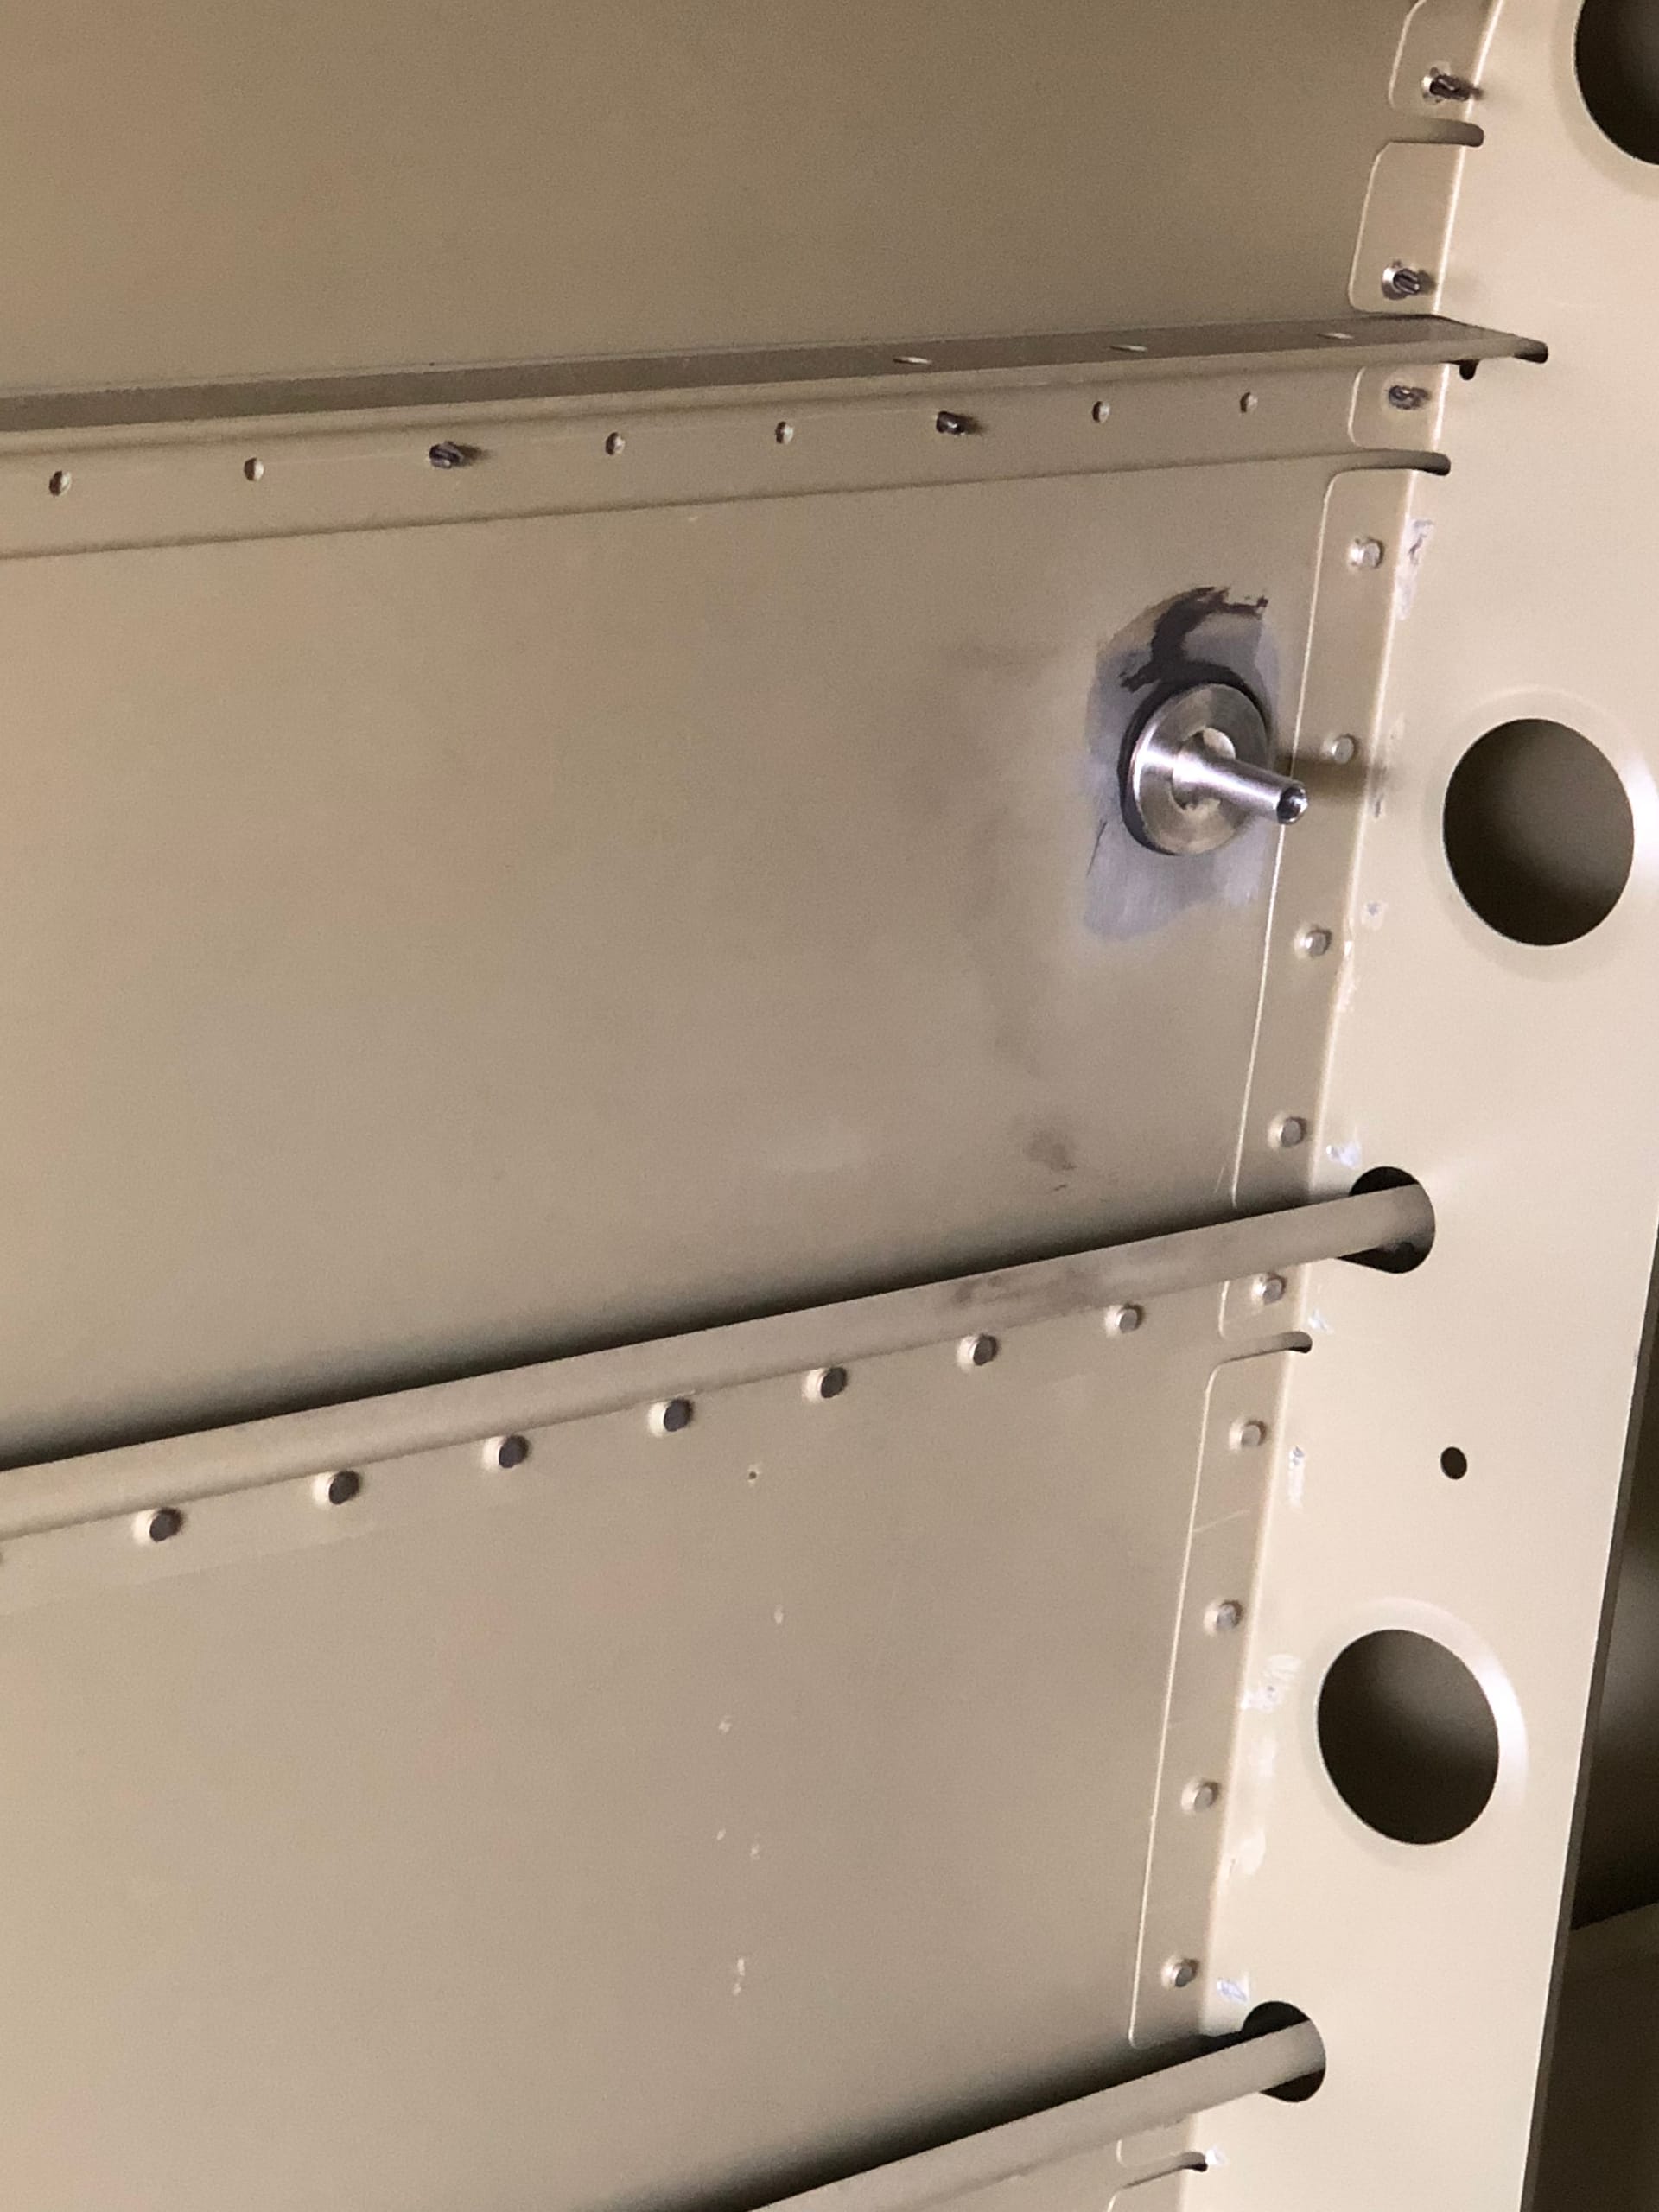
The first step was to scuff off the primer layer on the tailcone skin. You want a good scuffed bare aluminum surface for proper bonding. Then spread a little tank sealant around and press into place.
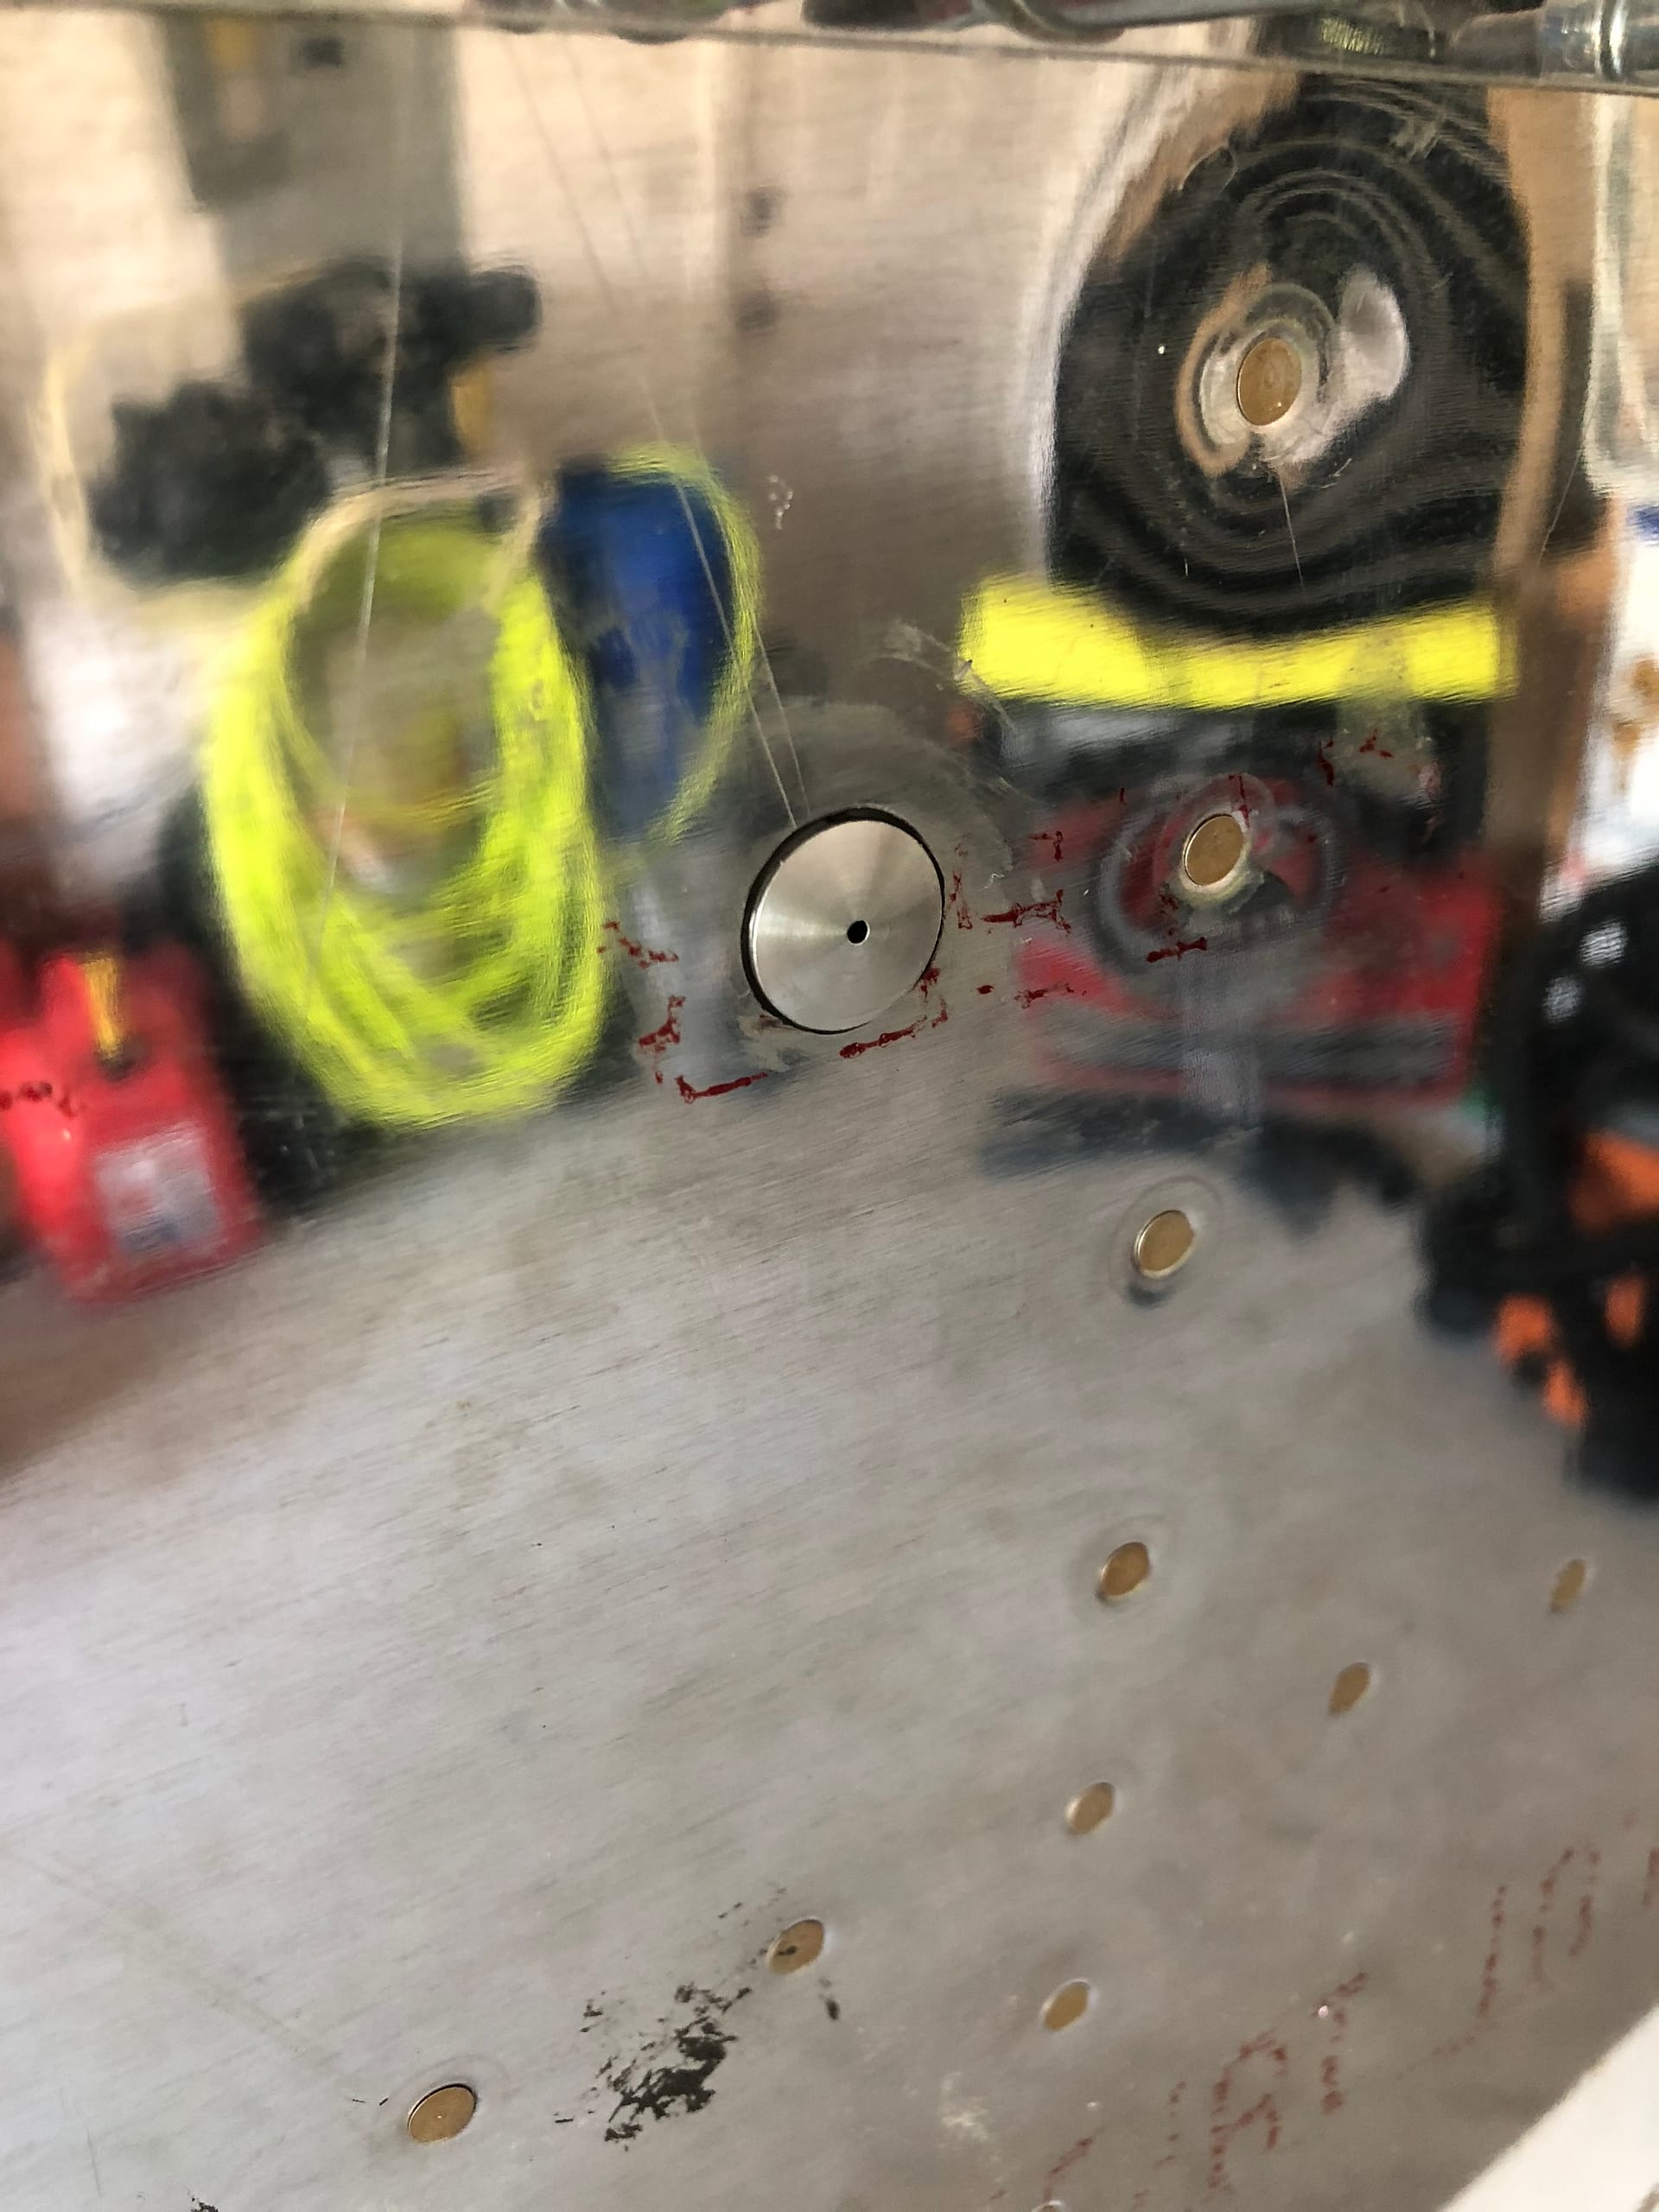
The view from the other side is pretty sweet as well. You can see the small opening for static air, the slightly raised face of the static port, and the generally clean look of it all.
No other real updates for today. I’m going to leave this to set up for a couple of days before messing with anything else.
- Total time today – 1 hour
- Total time empennage – 193.5 hours
- Total time aircraft – 201.5 hours